1Getting started
Chapters 1 to 5 are for everyone; from chapter 6 on, they cover the tasks of managers.
- Your company adds you to WP-Projects. You get an invitation by e-mail and choose your password.
- Sign in at projects.wpsolutions.ch – on a computer, tablet or phone.
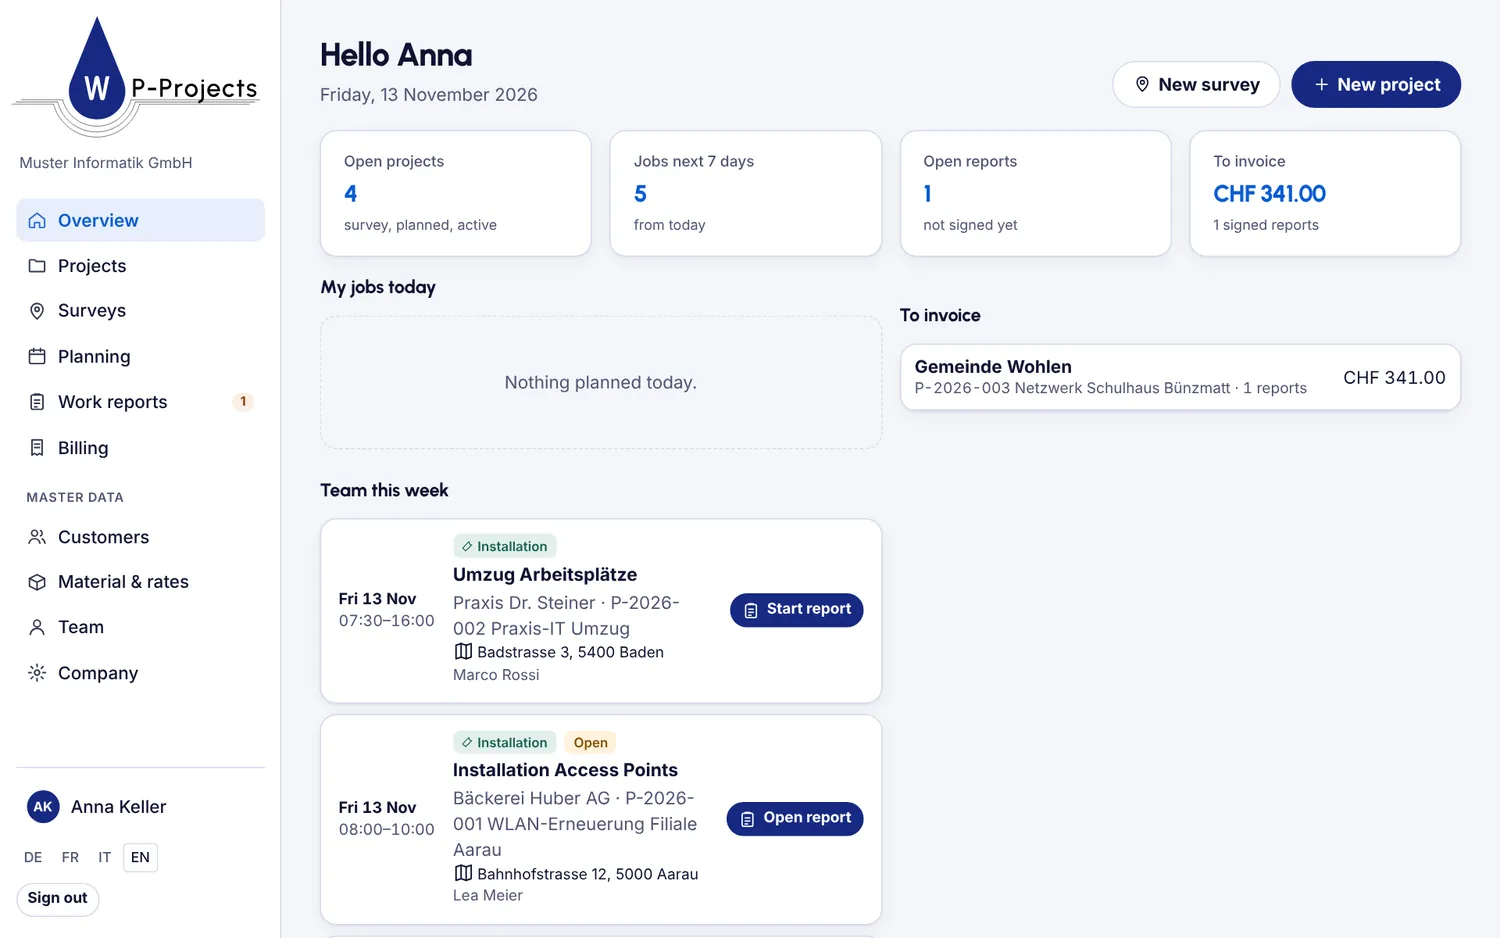
- Overview shows your jobs today, the team’s jobs this week and what is ready to invoice.
2Survey with floor plan
Record on site what is to be installed.
- Click New survey and choose the customer.
- Upload the Floor plan as an image or PDF, or photograph it.
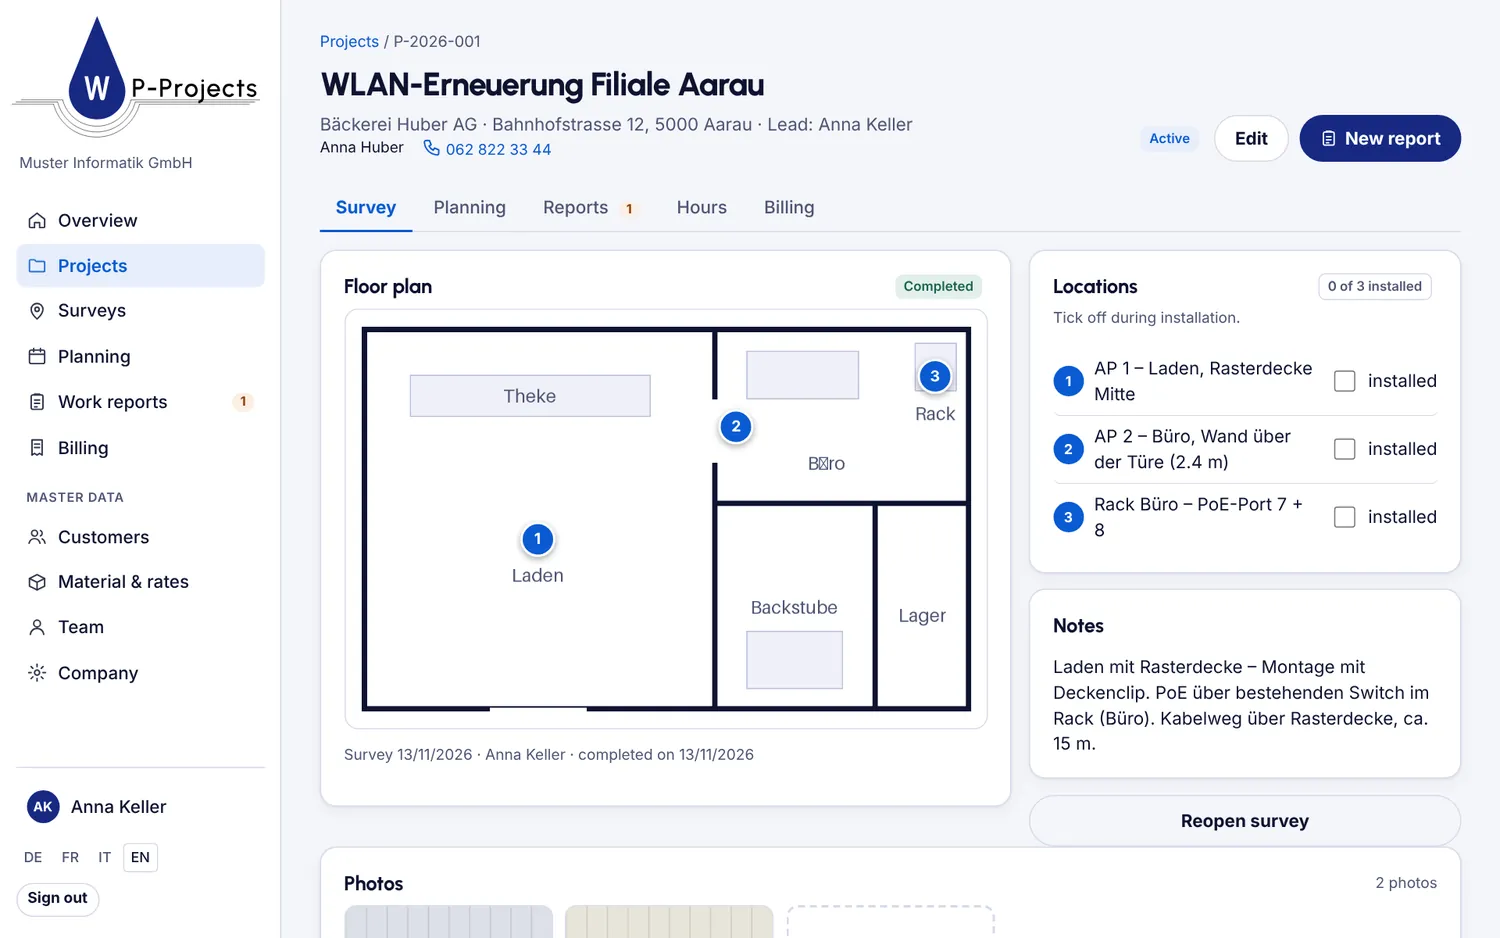
- Tap the plan to set numbered Locations and describe each one. Locations can be moved.
- Add Photos and notes.
- Click Complete survey. The project becomes active.
TipDuring installation, technicians see the survey in the project and tick the locations as installed.
3Planning jobs
Who does what, and when.
- Open Planning and click Plan a job.
- Choose the type: survey, meeting, installation, material order or service. Then project, date, time, person and planned hours.
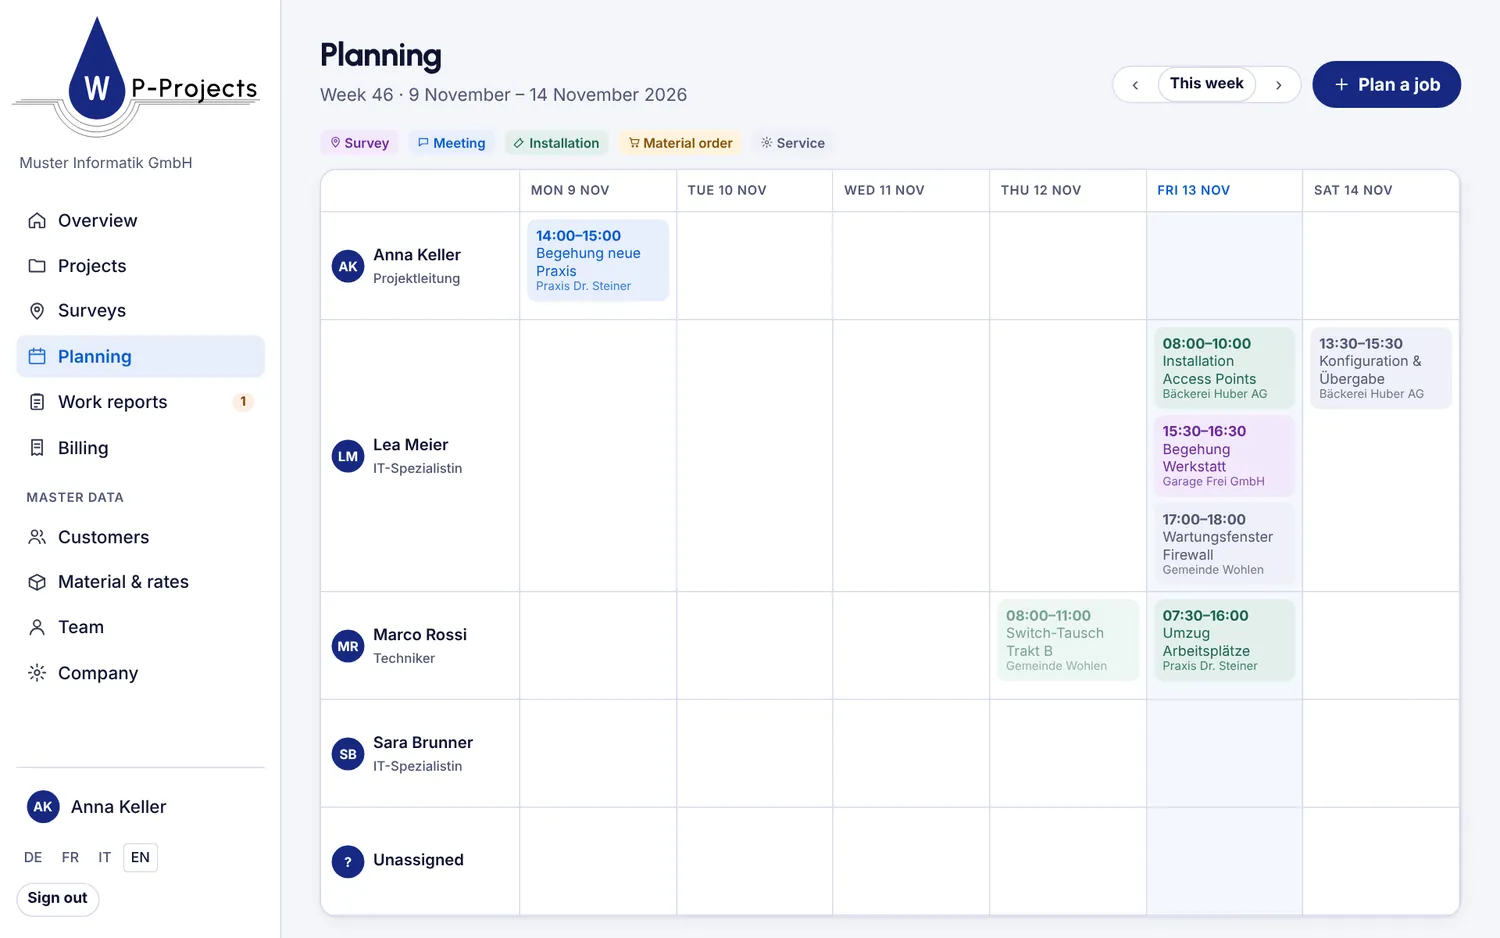
- The weekly plan shows the jobs per person. The arrows change the week.
4Recording a work report
Material and working time right at the job.
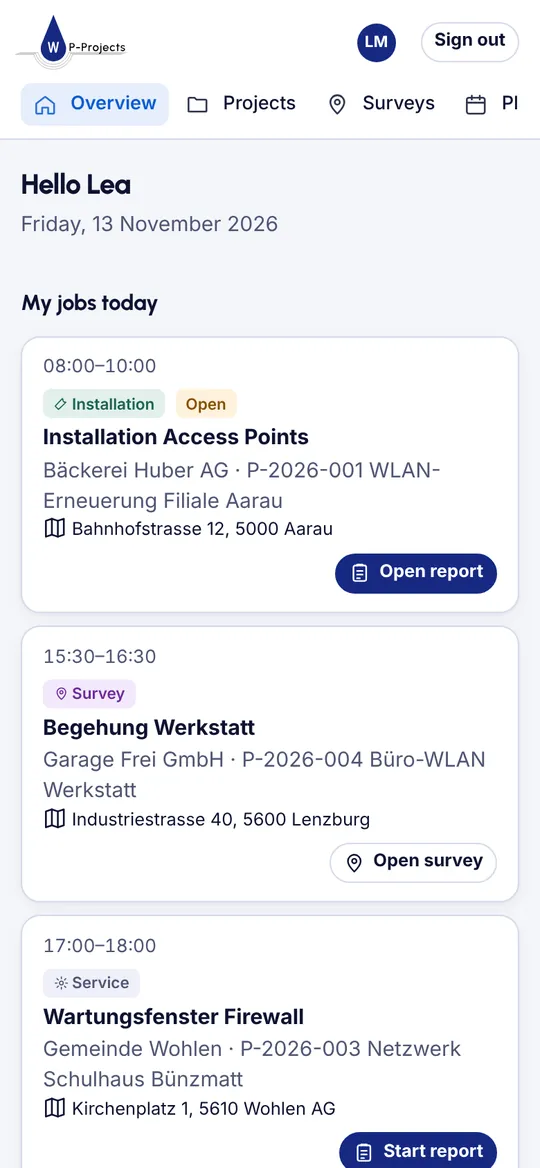
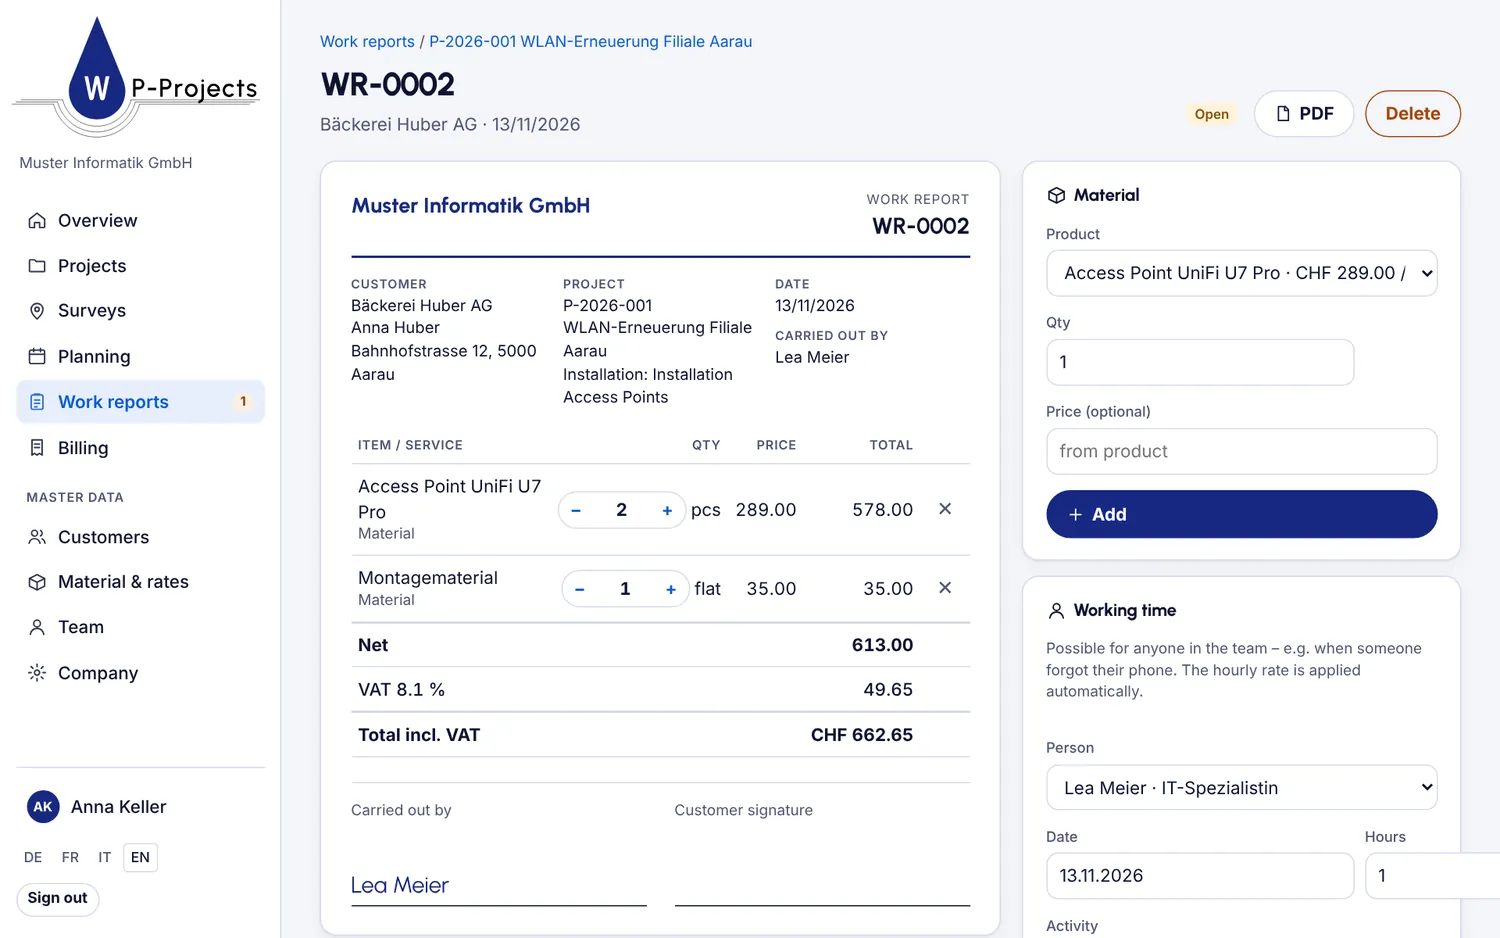
- At the job, tap Start report or Open report. A report for an installation already contains the ordered material.
- Under Material, add products from the list or enter free text.
- Under Working time, enter the hours. You can also enter hours for a colleague.
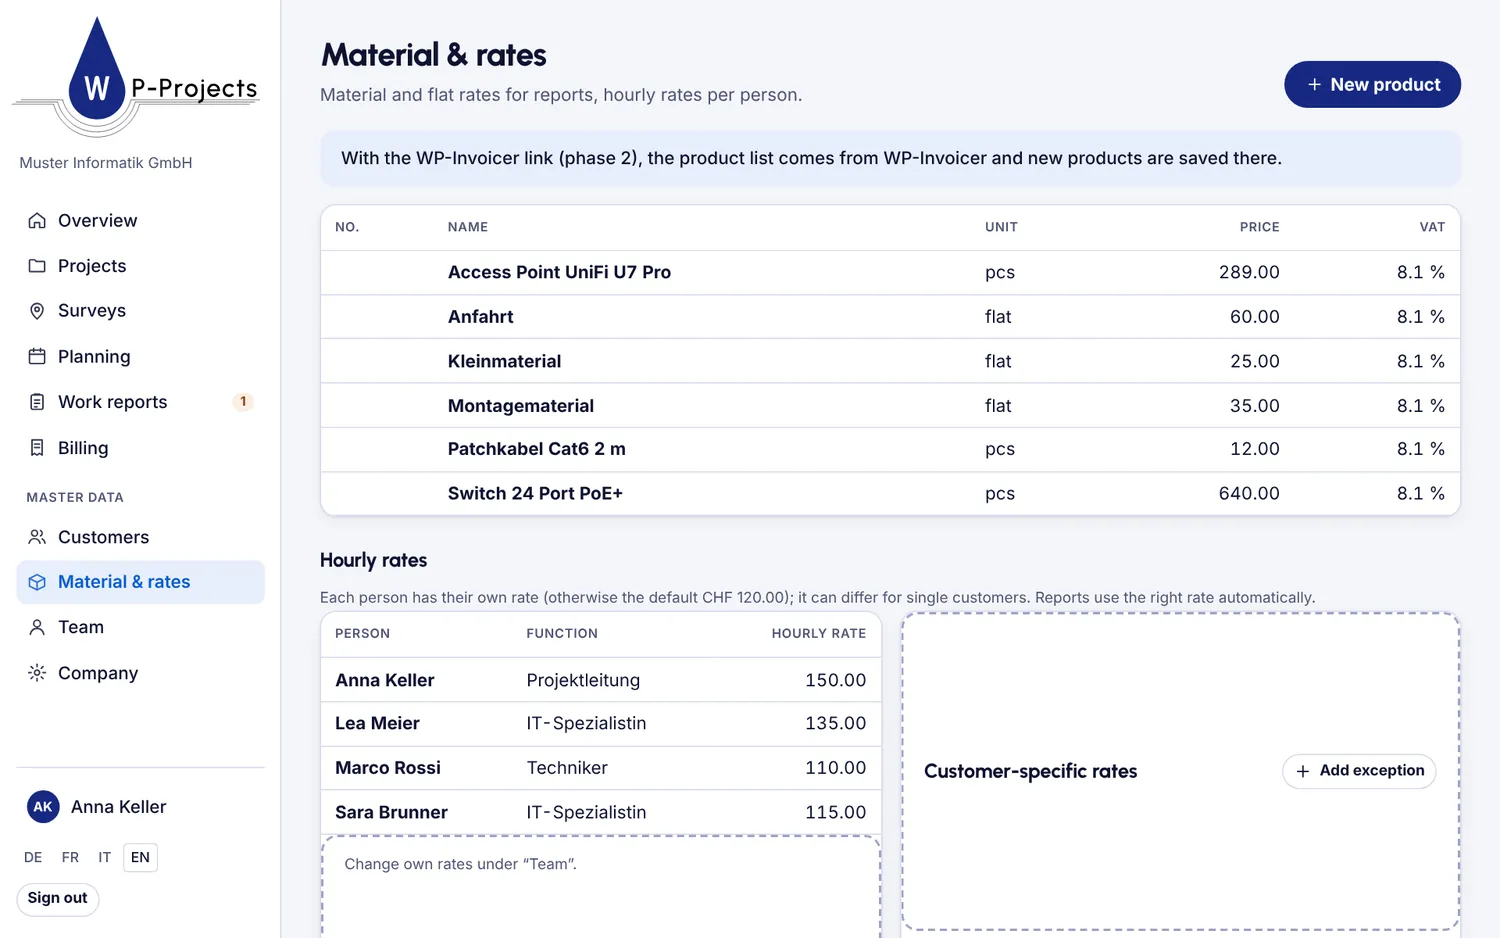
TipThe hourly rate is filled in automatically: the person’s rate or, if set, the special rate for this customer.
5Having the customer sign
The customer confirms work and material on the device.
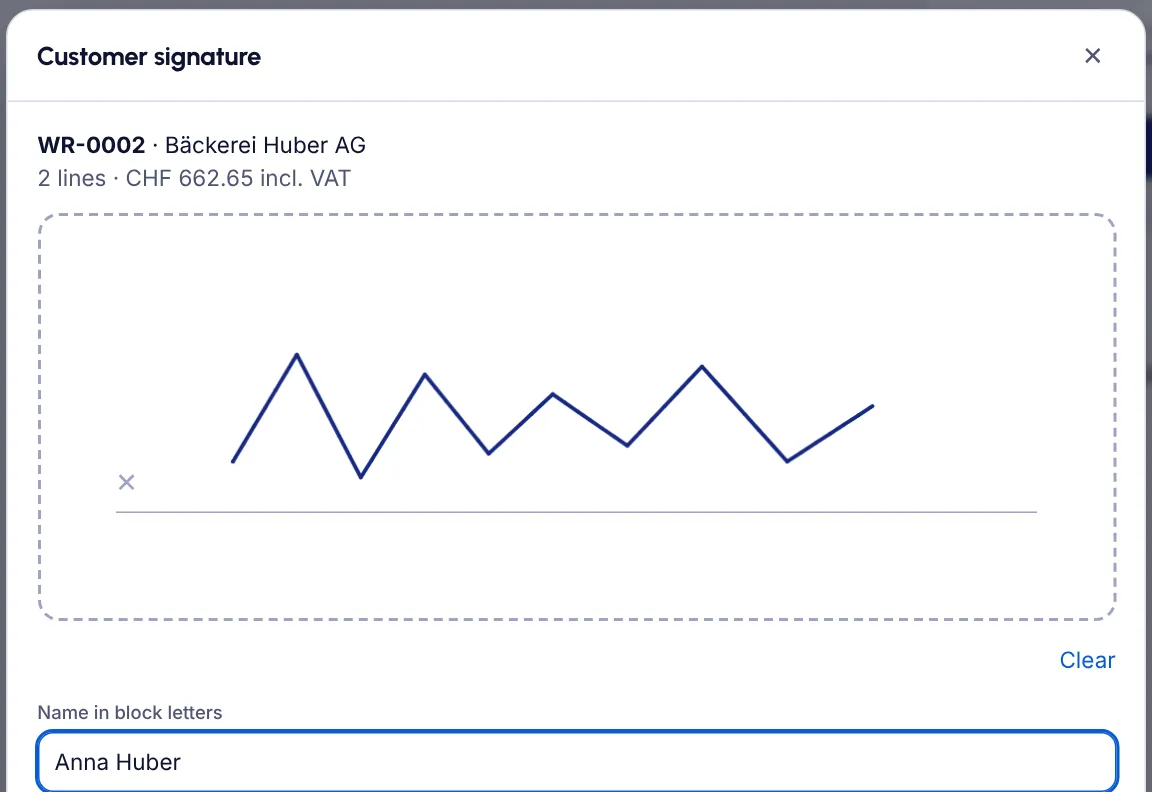
- In the report, click Have the customer sign.
- The customer signs with finger, pen or mouse and enters their Name in block letters.
- Click Sign. The report is locked; if you wish, the PDF goes to the customer by e-mail.
TipA signed report can’t be changed. For corrections, create a new report.
6For managers: projects
A project brings together survey, jobs, reports and hours.
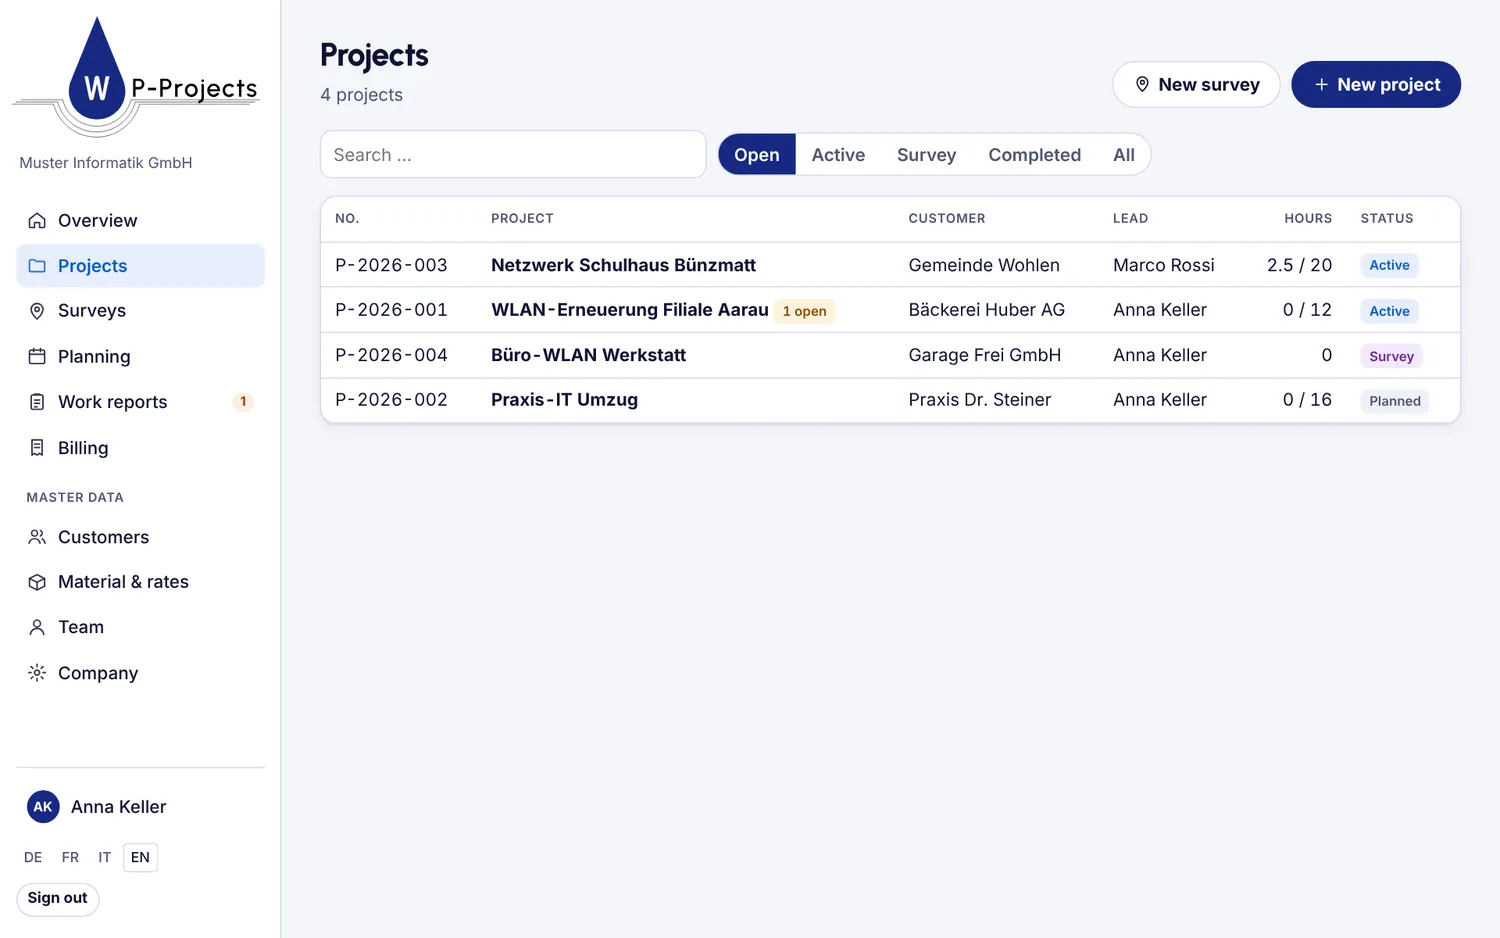
- Under Projects, click New project: customer, name, lead and hour budget.
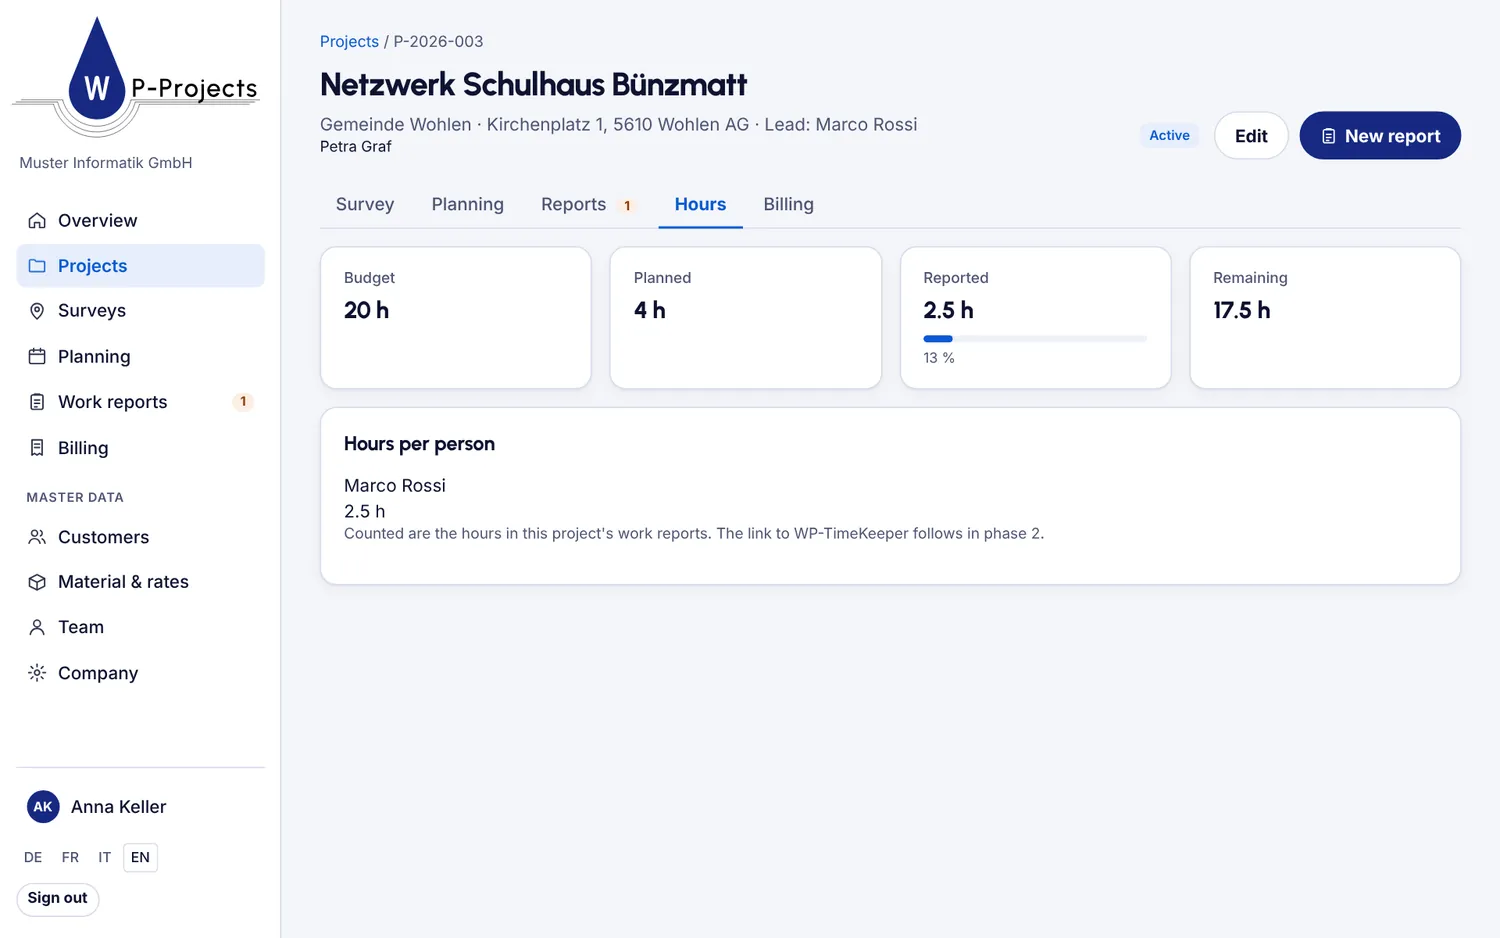
- The tabs Survey, Planning, Reports, Hours and Billing show everything about the project.
- Under Hours you see the budget, planned and reported hours.
7For managers: billing
Take signed reports into your invoice.
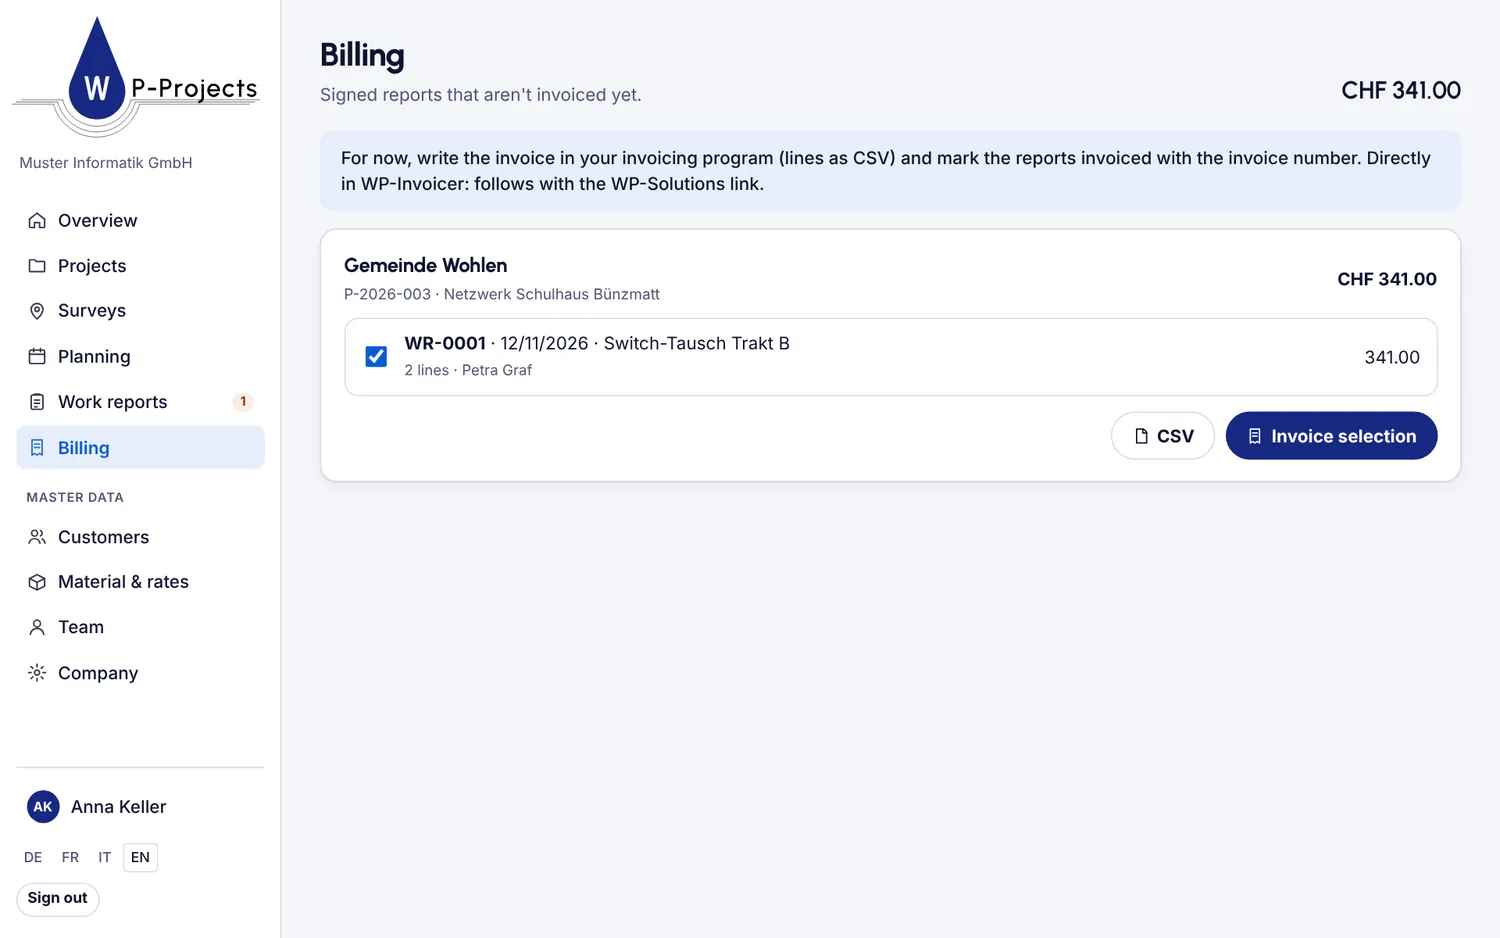
- Open Billing. It lists the signed, not yet invoiced reports per project.
- Download the lines as CSV for your invoicing program.
- Select the reports, click Invoice selection and enter the Invoice number.
8For managers: master data
Set it up once.
- Under Company: letterhead address, default hourly rate, VAT and whether prices appear on the report.
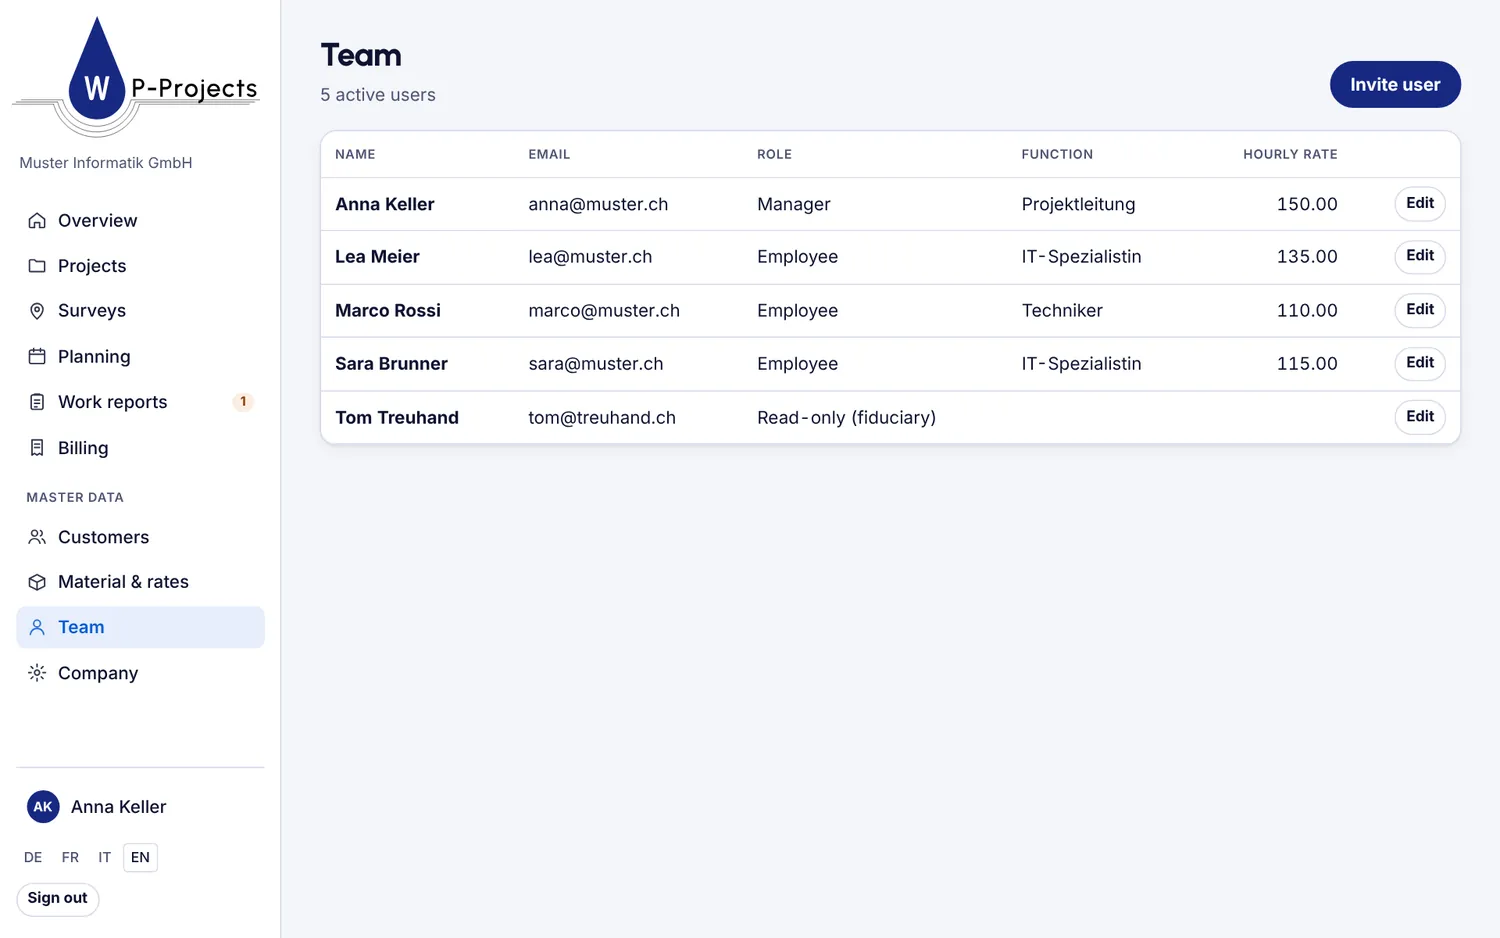
- Under Team: Invite user, role, function and hourly rate per person.
- Under Material & rates: products with price and, with Add exception, special rates for individual customers.
- Under Customers: add customers or bring them in with Import Excel.
TipFor your fiduciary there is the “Read-only” role: it sees everything, billing included, but changes nothing.
More questions?
The help page answers common questions, or write to us.